
The allure of real estate investing has been heavily popularized by fast-paced television shows that make transforming a dilapidated house look like a weekend hobby. The reality, however, is that successfully flipping an investment property requires a meticulous blend of financial strategy, project management, and a deep understanding of local real estate markets. When you take on a flip, you are stepping into the roles of investor, designer, and general contractor simultaneously. It is a highly rewarding endeavor that can yield significant financial returns, but it is also fraught with potential pitfalls for the unprepared.
A successful flip is not merely about choosing the right paint colors or laying down trendy flooring. It is about understanding the fundamental bones of a structure, knowing where to allocate your budget for the highest return on investment, and building a reliable team of professionals who can execute your vision on time and within budget. Every day a property sits unfinished or unsold, carrying costs—such as property taxes, insurance, utilities, and loan interest—eat directly into your profit margins. Therefore, efficiency and foresight are your most valuable assets.
This comprehensive guide is designed to walk you through the entire lifecycle of your first property flip. We will break down the journey into distinct, manageable phases, moving chronologically from the moment you take possession of the property to the day you hand the keys over to the new buyer. By the end of this guide, you will have a clear, actionable roadmap that demystifies the renovation process, helps you avoid costly amateur mistakes, and positions your first investment property for a lucrative sale.
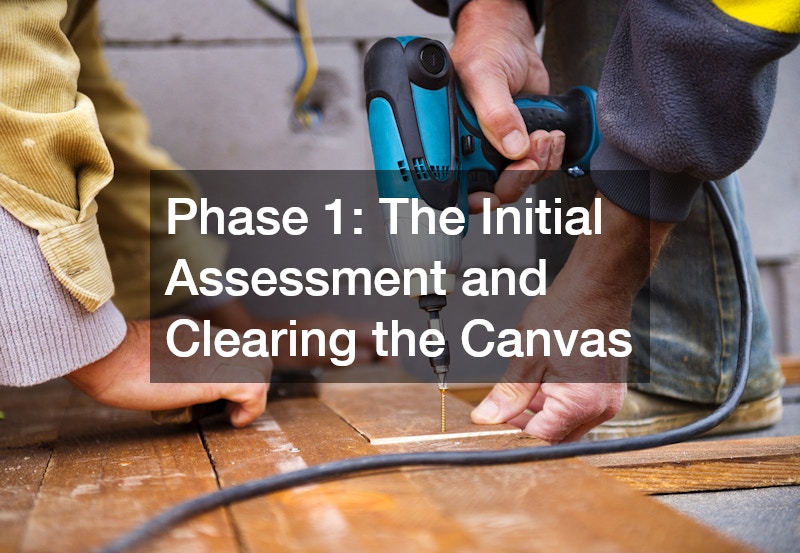
Phase 1: The Initial Assessment and Clearing the Canvas
The moment the ink dries on your closing documents, the clock starts ticking. However, before you begin tearing down walls or ordering fixtures, you must take a step back and perform a rigorous assessment of the property’s current state. This phase is about establishing a secure structural baseline and clearing out the old to make way for the new.
Evaluate Structural Integrity Before Swinging Hammers
Many first-time flippers fall into the trap of prioritizing aesthetics over structure. You might envision a beautiful open-concept kitchen and living area, but removing the wrong wall can compromise the entire house.
-
Consult a Structural Engineer: Before finalizing your floor plan, walk the property with a licensed structural engineer. They will identify which walls are load-bearing and calculate the size of the support beams needed if you choose to remove them.
-
Inspect the Foundation: The foundation is the bedrock of your investment. Look for horizontal cracks in basement walls, uneven floors, or doors that refuse to close properly. These can indicate severe settling or water intrusion. Fixing a foundation is incredibly expensive, so knowing the extent of the damage before you begin allocating your budget elsewhere is crucial.
-
Check for Water Damage: Look for water stains on ceilings, around window frames, and in the basement. Identifying the source of moisture early prevents new drywall and flooring from being ruined later.
Safely Remove Unsalvageable Structures and Materials
Once your structural plan is solid, the gutting phase begins. This is often the messiest and most physically demanding part of the project.
-
Hazardous Material Remediation: Older homes often hide dangerous materials. Homes built before 1978 frequently contain lead-based paint, and asbestos can be found in old floor tiles, popcorn ceilings, and pipe wrappings. You must factor in the cost of professional testing and remediation, as mishandling these materials can result in severe health risks and heavy legal fines.
-
Efficient Gutting: While it might be tempting to save money by doing the teardown yourself, bringing in professional demolition services ensures the job is done rapidly and safely. Experts know how to strip a room to the studs without damaging the underlying framing, plumbing vents, or vital structural supports that need to remain intact.
-
Waste Management: Calculate the volume of debris and arrange for the appropriate number of roll-off dumpsters. Keep the site clean; a cluttered workspace slows down progress and increases the risk of accidents.
Assess Energy Efficiency Before Closing the Walls
With the walls opened up, you have a rare opportunity to improve the home’s thermal envelope. Modern buyers are highly conscious of energy costs, and an efficient home is a major selling point.
-
Identify Thermal Gaps: Check the attic, crawlspaces, and exterior wall cavities for drafts, moisture buildup, or deteriorated materials. Old, compacted fiberglass batts offer very little thermal resistance.
-
Upgrade the Envelope: Consult with experienced insulation contractors to determine the best materials for your specific climate zone. Upgrading to closed-cell spray foam or high-density blown-in cellulose can drastically reduce heating and cooling costs, providing a tangible benefit you can highlight in your property listing.
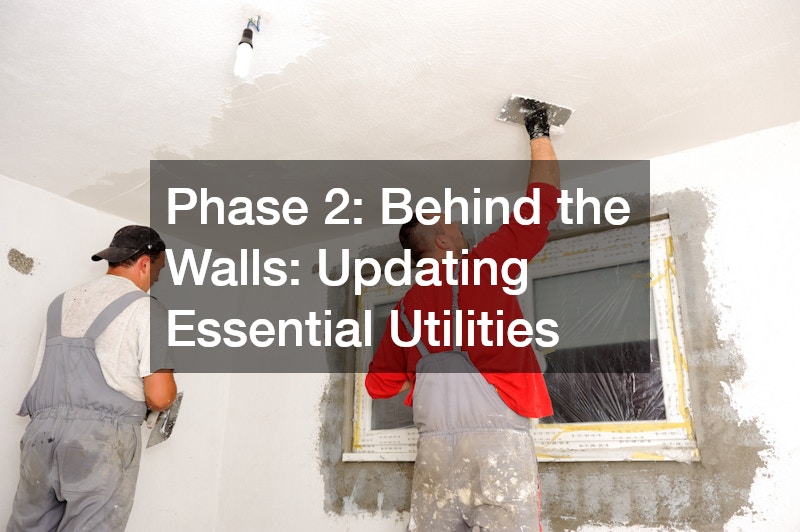
Phase 2: Behind the Walls: Updating Essential Utilities
With the property cleared and structurally sound, it is time to address the “rough-in” stage. This phase focuses on the unseen systems that make a house livable. Outdated utilities are major red flags for home inspectors and buyers, making this a non-negotiable area for investment.
Map Out Modern Living Requirements Prior to Wiring
The way we use electricity today is vastly different from how we used it even twenty years ago. A home with inadequate power will struggle to support modern lifestyles, leading to blown fuses and frustrated homeowners.
-
Assess the Main Panel: Many older homes still operate on 60-amp or 100-amp service panels. Today’s standard is a minimum of 200 amps to handle central air, electric vehicle chargers, and multiple high-draw appliances running simultaneously.
-
Hire Licensed Professionals: Never attempt to DIY an electrical overhaul. Bring in a licensed electrical contractor to evaluate the current system. They will need to replace any dangerous historical wiring, such as knob-and-tube or aluminum wiring, which are massive fire hazards and often uninsurable.
-
Plan for the Future: Map out dedicated circuits for home offices, entertainment centers, and kitchen appliances. Consider adding smart home integrations, such as USB outlets, smart switches, and hardwired security camera drops. Anticipating a buyer’s tech needs adds a premium feel to the property.
Inspect Main Lines and Replace Outdated Pipes
Plumbing issues can cause catastrophic damage to a freshly finished home. Ensuring the integrity of the water supply and waste removal systems is paramount.
-
Scope the Sewer Line: One of the most devastating surprises for a new flipper is a collapsed main sewer line. Before you pour money into cosmetic upgrades, hire a professional to send a camera down the main drain to the street. Tree roots, bellied pipes, or deteriorating clay lines must be addressed immediately.
-
Modernize Supply Lines: Old galvanized steel pipes corrode from the inside out, leading to poor water pressure and eventual leaks. Experienced plumbers should be brought in to rip out these old lines and replace them with modern PEX tubing or copper. PEX is highly durable, flexible, and resistant to freezing, making it an excellent choice for modern renovations.
-
Upgrade Fixture Rough-ins: If you are changing the layout of the kitchen or bathrooms, the rough plumbing (the pipes hidden in the walls and floors) must be moved. Ensure these changes are fully permitted and inspected before any drywall goes up.

Phase 3: Modernizing Climate Control Systems
Heating, ventilation, and air conditioning are the lungs of a house. These systems directly impact the daily comfort of the occupants. A brand-new kitchen will not compensate for a home that is freezing in the winter and sweltering in the summer.
Compare Repair Versus Full System Replacement
When evaluating existing climate systems, you must weigh the cost of immediate repairs against the long-term value of a full replacement. Buyers are incredibly wary of aging furnaces and boilers.
-
Evaluate the Lifespan: A standard forced-air furnace typically lasts 15 to 20 years. If the unit in your investment property is approaching the end of its life, attempting to patch it up is a poor strategy. A new buyer will factor the cost of an imminent replacement into their offer, often demanding a steep discount.
-
Gather Competitive Quotes: Reach out to multiple reputable HVAC companies to get estimates on modern, high-efficiency systems. Installing a unit with a high AFUE (Annual Fuel Utilization Efficiency) rating not only appeals to eco-conscious buyers but also serves as a strong marketing tool.
-
Consider Heat Pumps: Depending on your region, electric heat pumps are becoming the gold standard for efficient, dual-purpose heating and cooling, offering significant long-term energy savings.
Size Cooling Units Correctly for the Square Footage
A common misconception in home renovations is that a larger cooling unit equates to better performance. In reality, an improperly sized system will lead to severe comfort issues and premature mechanical failure.
-
Avoid Short-Cycling: If a unit is too large for the home’s square footage, it will cool the air rapidly and shut off before it has a chance to dehumidify the space. This results in a cold but clammy environment and puts excessive wear on the compressor.
-
Demand Precise Calculations: Do not let anyone guess the required tonnage based simply on floor space. Work with a qualified local ac contractor who will perform a strict Manual J calculation. This assessment takes into account the home’s square footage, window placement, ceiling height, and newly upgraded thermal boundaries to prescribe the exact size of the equipment needed.
-
Inspect the Ductwork: Even the best new unit will underperform if it is connected to leaky, undersized, or poorly routed ductwork. Ensure the ducts are sealed, insulated, and professionally cleaned before the system is fired up.
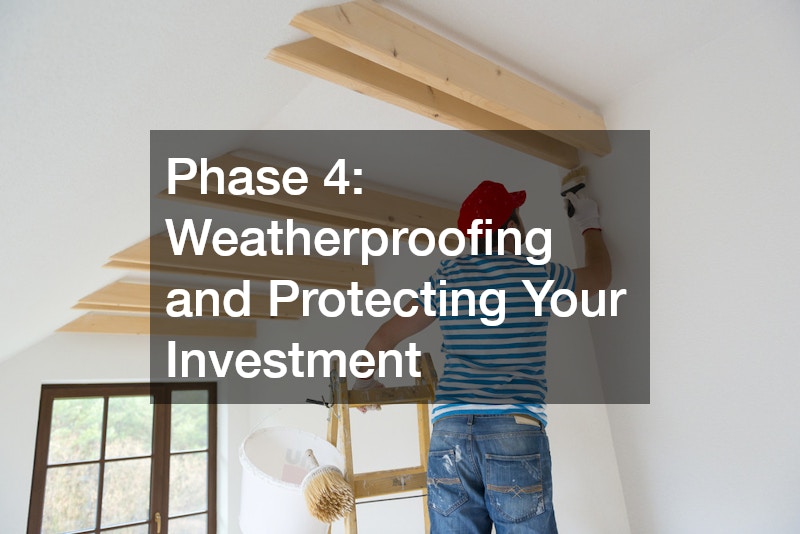
Phase 4: Weatherproofing and Protecting Your Investment
With the vital internal systems updated, your focus must shift to the exterior envelope. The roof, siding, and windows represent the property’s primary defense against the elements. Failing to secure the exterior leaves your expensive interior renovations highly vulnerable.
Don’t Skimp on the Top Layer: Passing Buyer Inspections
The roof is arguably the most scrutinized element of a home during a buyer’s inspection. A deteriorating roof is a massive psychological and financial hurdle that can kill a deal at the eleventh hour.
-
Assess the Current State: Look for curling, missing, or brittle shingles. Inspect the flashing around chimneys and vent pipes, as these are common failure points for water intrusion. Check the attic for daylight peeking through the boards or dark streaks indicating active leaks.
-
Choose Tear-Off Over Overlay: It might be tempting to save money by simply nailing a second layer of shingles over the old ones. This is almost always a mistake. It adds immense weight to the roof structure, traps heat, and hides underlying rot. Request quotes from vetted roofing contractors for a complete tear-off. Starting from the decking up allows you to repair rotted wood and install proper underlayment.
-
Select Quality Materials: Architectural shingles offer a significant visual upgrade over standard 3-tab shingles and generally carry longer warranties. Choosing a color that complements the overall exterior palette will dramatically boost the home’s profile.
Source Community-Vetted Professionals for Regional Codes
Building codes and weatherproofing requirements vary wildly depending on your geographic location. What works in a dry, desert climate will fail miserably in an area prone to heavy snowfall or coastal storms.
-
Understand Regional Demands: If you are flipping a house in a northern climate, you must ensure proper ice and water shields are installed along the eaves to prevent ice dams. In hurricane-prone areas, specialized strapping and wind-resistant shingles are mandatory.
-
Leverage Neighborhood Expertise: To navigate these specific regional demands, partner with experienced local roofing contractors. They will be intimately familiar with municipal building codes, possess established relationships with neighborhood permit offices, and know exactly how to fortify the structure against the specific weather patterns native to your area.

Phase 5: Boosting First Impressions with Exterior Enhancements
Curb appeal is not just a real estate buzzword; it is a measurable psychological factor that dictates a buyer’s initial emotional response to a property. If the exterior looks neglected, buyers will instinctively assume the interior is hiding serious flaws, regardless of how much money you spent on the kitchen.
Upgrade the Largest Moving Part of the Home’s Facade
When you stand at the curb and look at a typical house, the garage often occupies a massive percentage of the visible facade. Leaving an old, dented, or peeling garage door in place will drag down the entire aesthetic of the property.
-
Modernize the Aesthetic: Swapping out a generic, flat-panel door for a carriage-house style or a modern glass-paneled design can completely transform the home’s character. Choose a color that ties into the front door or the window trims for a cohesive look.
-
Focus on Functionality and Insulation: A new door is not just about looks. Utilize professional garage door services to install a high-quality, insulated model. This helps regulate the temperature of the garage (and any living spaces above it) while operating quietly. Pair it with a smart-enabled opener so the new owners can control access via their smartphones.
Resurface the Driveway for an Immediate ROI Bump
The driveway is the physical path that leads buyers to your front door. A cracked, weed-infested, or sunken driveway sets a tone of neglect before the buyer even steps out of their car.
-
Address Drainage Issues: Over time, driveways can settle, causing water to pool near the foundation or the garage entrance. This is a major red flag for inspectors. The gradient must be corrected so that water flows cleanly away from the structure and into the street or designated drainage areas.
-
Create a Clean Frame: Whether the property currently has a crumbling concrete path or a dirt patch, laying down a fresh, black surface provides a manicured, high-contrast frame for your landscaping. Hire a reputable asphalt paving contractor to dig out the old material, lay a solid gravel base, and pour a smooth, durable surface. The visual impact of a pristine driveway is one of the highest return-on-investment exterior upgrades you can perform.
Phase 6: Interior Finishes, Staging, and Selling Strategy
With the messy construction phases behind you, it is time to focus on the details that sell. The interior finishes and the way the home is presented will ultimately justify your asking price and create the emotional connection necessary to secure an offer.
Choose Neutral But Trendy Design Elements
The goal of a flip is to appeal to the broadest possible demographic of buyers. Injecting too much of your personal taste can alienate potential buyers who cannot see past your bold choices.
-
Embrace Warm Neutrals: The days of sterile, cool-gray walls are fading. Transition to warm whites, soft beiges, or “greige” tones. These colors make spaces feel bright, open, and inviting while serving as a blank canvas for the buyer’s furniture.
-
Invest in High-Impact Areas: Kitchens and primary bathrooms sell houses. Allocate a larger portion of your finishing budget here. Install durable luxury vinyl plank (LVP) or engineered hardwood flooring throughout the main living areas for seamless flow. In the kitchen, quartz countertops, shaker-style cabinets, and a classic subway tile backsplash offer a timeless, high-end look that appeals to almost everyone.
-
Don’t Forget the Lighting: Swap out all dated light fixtures. Recessed LED lighting is inexpensive but makes a massive difference in modernizing a space. Add statement pendants over the kitchen island and updated vanity lights in the bathrooms.
Stage the Home to Maximize Perceived Space
An empty house can feel cold and surprisingly small. Buyers often struggle to visualize how their furniture will fit into a vacant room, leading them to underestimate the available square footage.
-
Define Awkward Spaces: Every home has quirks—a strange alcove under the stairs, a small landing on the second floor, or a narrow basement room. Professional staging gives these areas purpose. Turn an alcove into a reading nook with a chair and a lamp, or stage a small bedroom as a highly functional home office.
-
Keep Scale in Mind: Use furniture that is appropriately sized for the rooms. Oversized couches will make a living room feel cramped, while too-small rugs will make the space feel disjointed. Staging creates a lifestyle narrative that helps buyers emotionally move in.
Price Competitively Based on Hyper-Local Comps
Pricing your flip incorrectly is the fastest way to ruin your profit margins. Overpricing leads to the home sitting stagnant on the market, racking up holding costs and creating a stigma around the listing.
-
Analyze Comparable Sales (Comps): Work closely with a real estate agent to pull data on similar homes that have sold within a half-mile radius over the last 90 to 180 days. Pay strict attention to the square footage, bedroom/bathroom count, and the level of finishes.
-
Understand Market Dynamics: Be realistic about the current market climate. In a seller’s market, you might price slightly higher or exactly at market value to trigger a bidding war. In a buyer’s market, pricing slightly below the highest comp can help your property stand out and sell quickly, minimizing your expensive carrying costs.
Conclusion
Flipping your first investment property is a complex puzzle that requires patience, capital, and an unwavering attention to detail. It is a journey that takes you from the gritty reality of structural assessments and waste removal all the way to the refined nuances of interior design and market psychology. The difference between a stressful financial loss and a triumphant, profitable sale lies in the preparation and the execution of your plan.
Remember that you are only as good as the team you build around you. By surrounding yourself with vetted, reliable professionals, you mitigate the inherent risks of real estate investing and ensure the work is done to a standard that commands top dollar. Stick to your budget, refuse to cut corners on the vital hidden systems of the home, and always keep the end buyer’s perspective in mind when making design choices.
With discipline and the roadmap provided in this guide, you are well-equipped to navigate the challenges of your first project. Bookmark this guide, lean on your professional network when you encounter the unexpected, and approach every setback as a learning opportunity. The real estate market rewards those who are thorough and strategic—now it is time to get to work and transform your investment into a highly sought-after home.